These instructions are for Armorsmith Designer 2.1.1.0. Earlier versions, including 2.1.0.10, can show different panels and labels.
Find a workspace
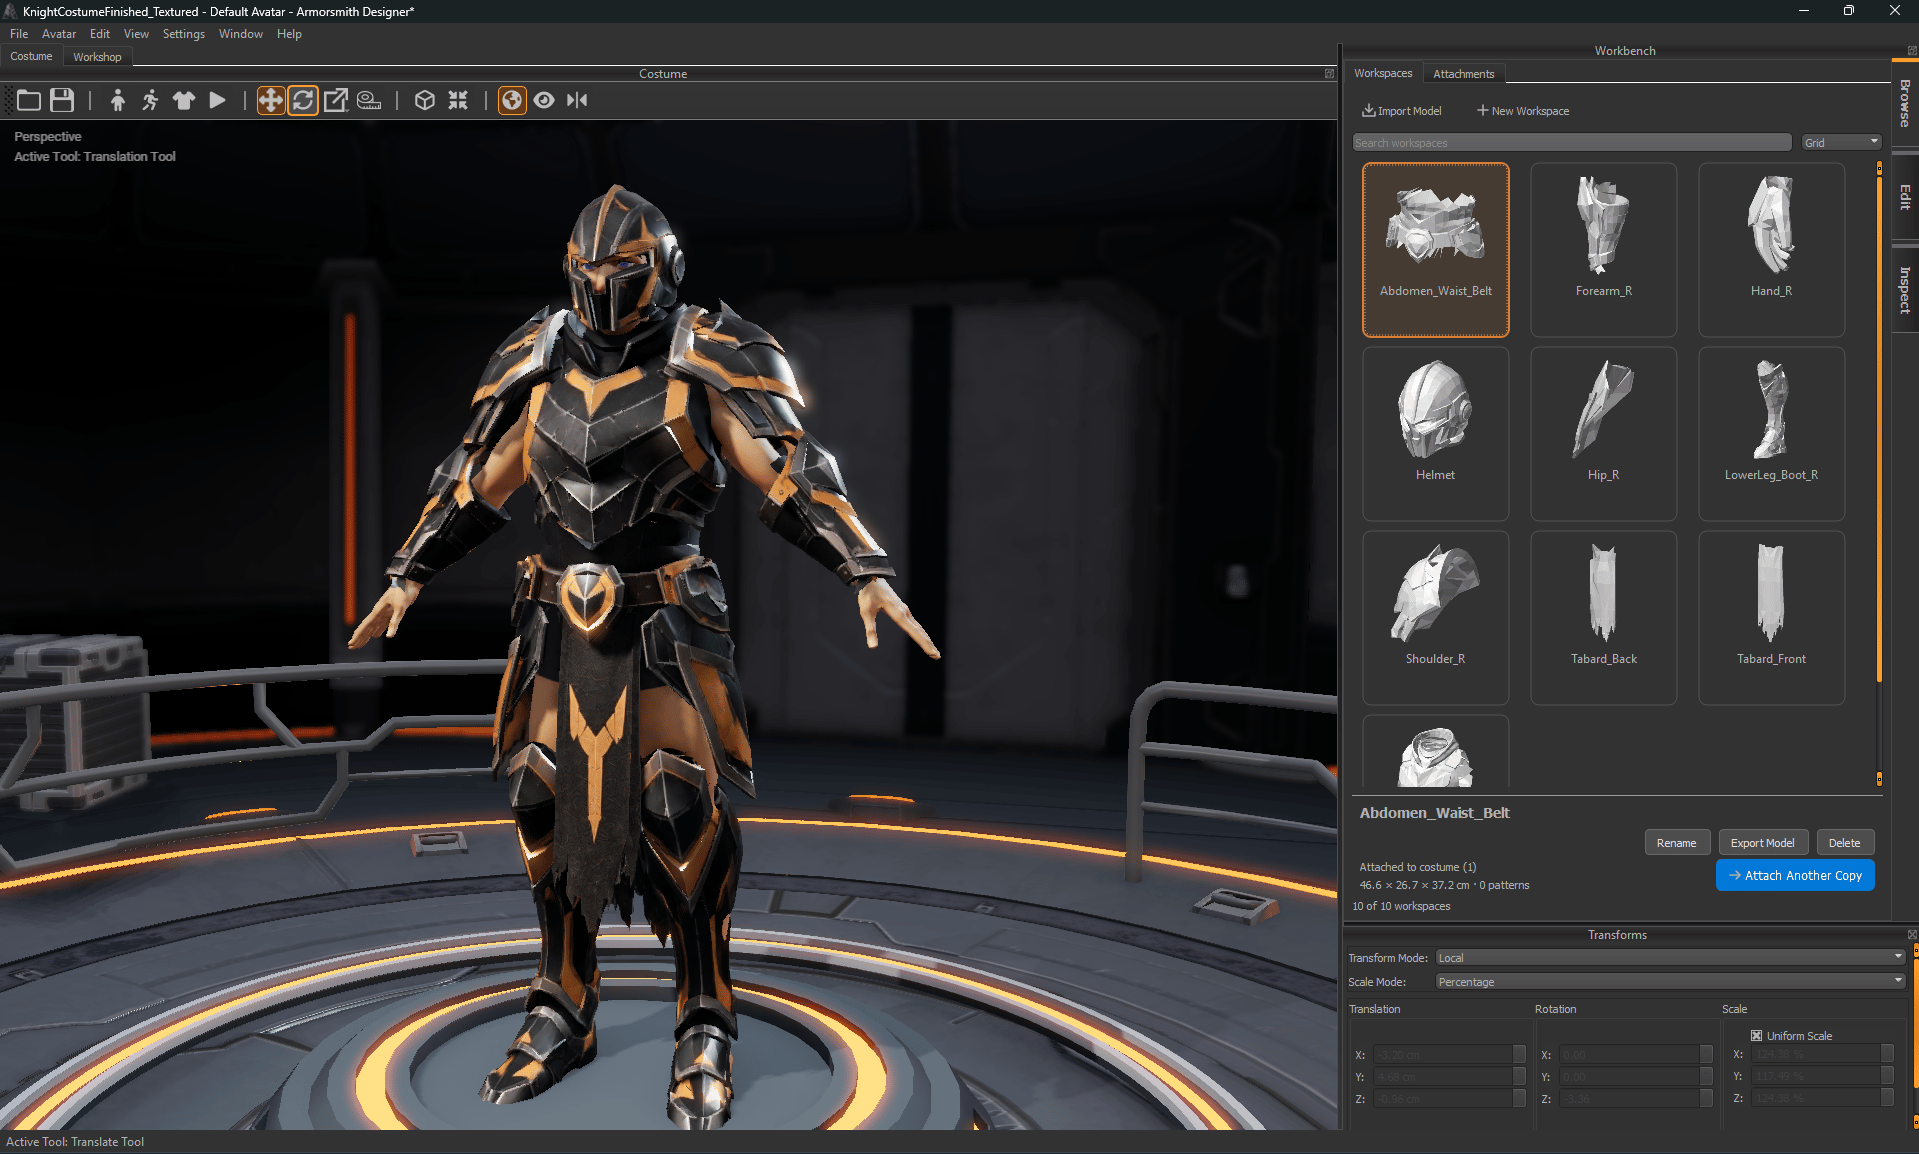
Import or create
- Import Model opens the model import workflow.
- New Workspace creates a blank workspace for drafting your own patterns.
Manage names and groups
Right-click a workspace for actions such as Rename…, Export Model…, and Manage Group…. Group related sources when they belong to one assembly, such as a helmet and its separate cheek pieces. Use the group filter to find them together. Attach Group To Costume places an assembly as a group. Inspect the result before fitting individual regions; grouping does not automatically make an assembly fit the wearer.Attach a workspace
- Select a workspace containing geometry that can be attached.
- Click Attach To Costume. If it already has an attachment, the button can read Attach Another Copy.
- Move over the avatar and click the intended attachment point.
- Use Translate, Rotate, and Scale to fit the part.
Browse attachments or patterns
In Costume, use Browse → Attachments to find fitted parts by body slot. Reveal Workspace takes you back to a selected attachment’s source workspace. In Workshop, use Browse → Patterns to organize drawing layers and groups. Physical foam stacks are edited through Edit Foam → Layers, not a separate Browse Foam Layers tab.Delete a workspace safely
Deleting a workspace also removes attachments that depend on it. If you only want to remove a fitted copy, use Delete Attachment in attachment browsing instead. Save a copy of a useful costume before removing source workspaces. For backups, keep an editable.costume file and its companion folder together. Use Publish Costume for a single-file handoff.