These instructions are for Armorsmith Designer 2.1.1.0. Earlier versions, including 2.1.0.10, can show different panels and labels.
Choose a view
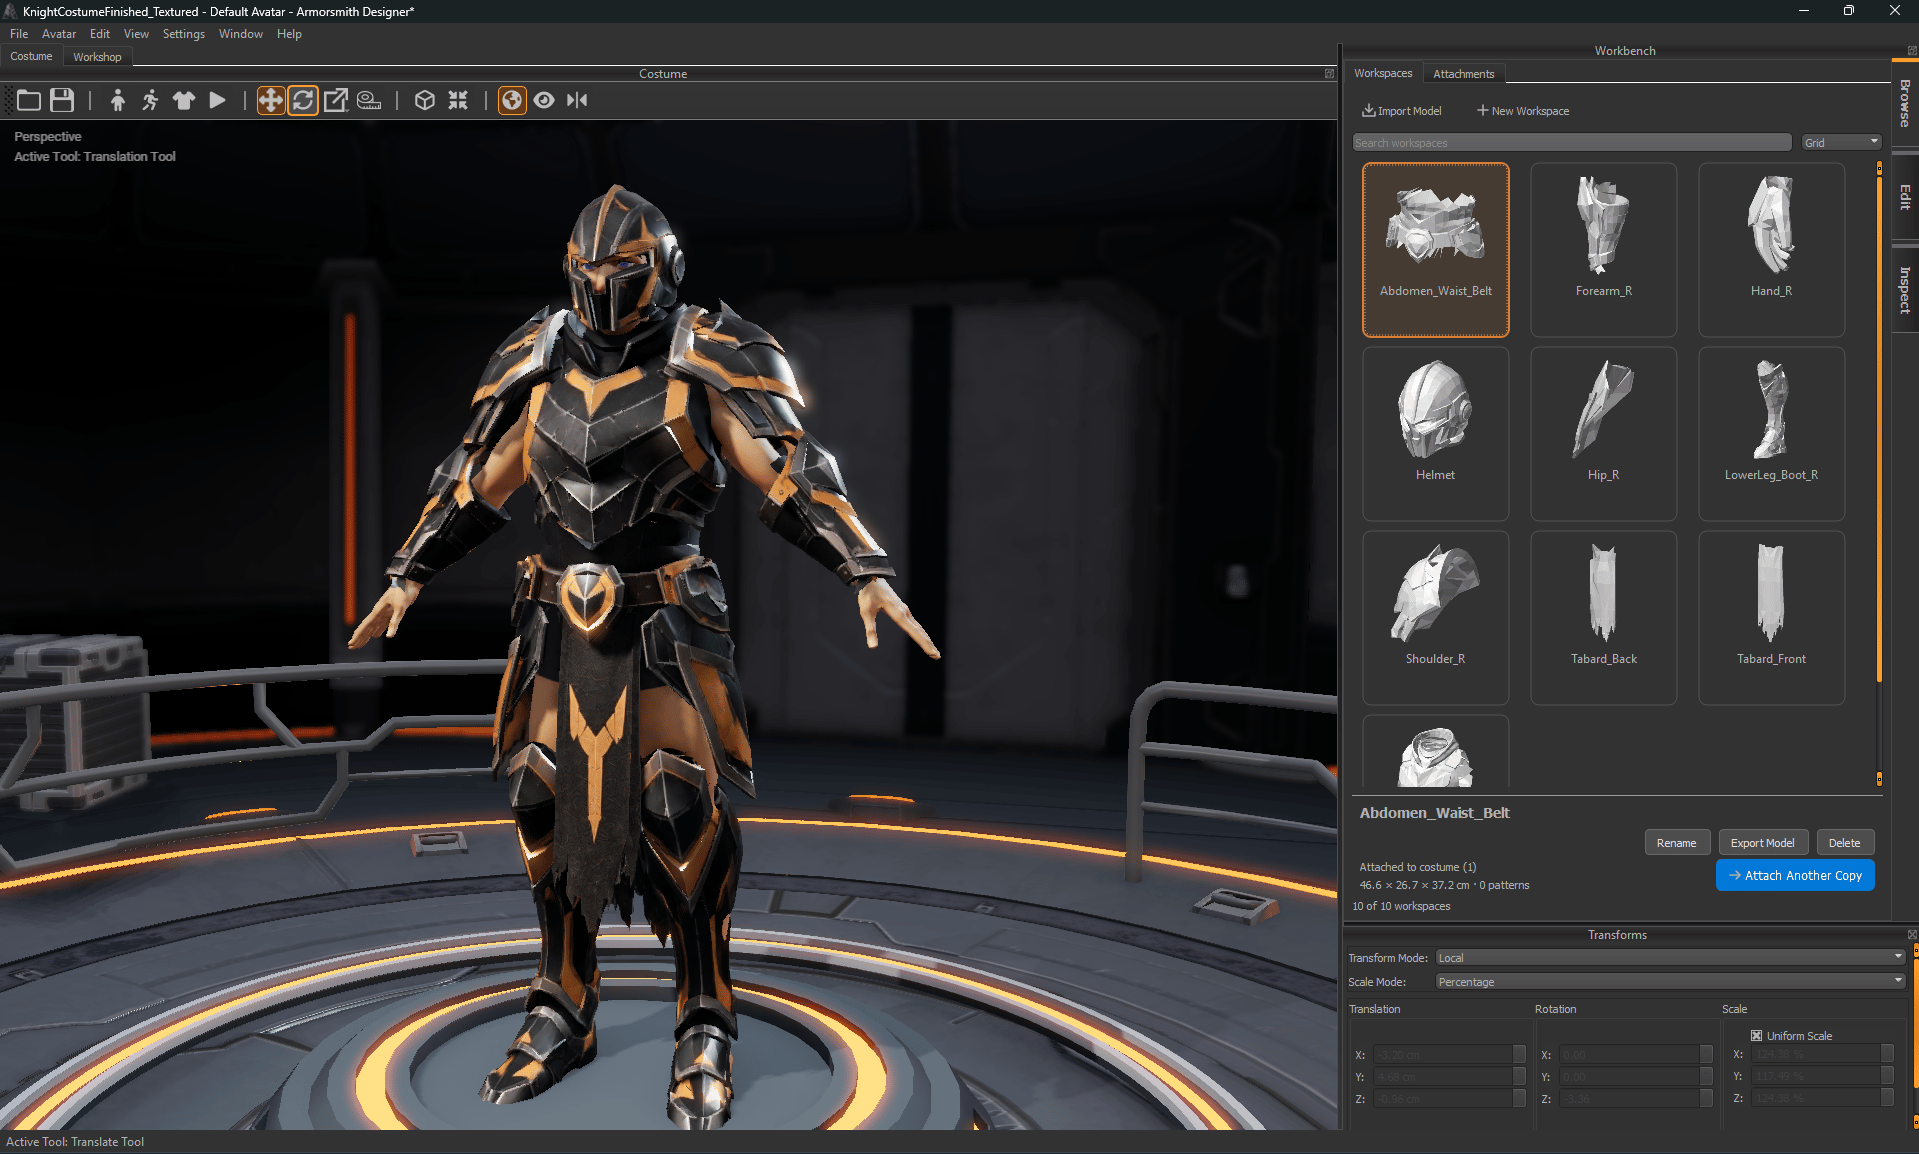
The model and pattern views serve different tasks. Moving a paper template does not reposition its fitted attachment on the avatar.
Use Workbench
Choose Window → Workbench if the dock is not visible.
Activate a tool from its normal menu or viewport button to open its editing controls. Use Done to finish a tool when that button is shown. Tools with Apply and Cancel use those controls to accept or abandon the proposed operation. Changing the visible Workbench tab alone is not a substitute for finishing a tool.
Workbench moves as one dock. Browse, Edit, and Inspect are pages inside it, rather than separate docks to rearrange individually.
Enter precise transforms
The separate Transforms panel contains position, rotation, and scale. Use it for exact values and use the viewport gizmos for interactive adjustment. See Transform Panel.Start a costume
- Create and save a costume.
- Choose Avatar → Edit Avatar to enter body measurements in Workbench Edit.
- Import a model and select it under Browse → Workspaces.
- Attach it to the avatar, then position and check the fit.
- Open Workshop when you are ready to work on its patterns.