These instructions are for Armorsmith Designer 2.1.1.0. Earlier versions, including 2.1.0.10, can show different panels and labels.
Before you start
Start with Avatar Guide
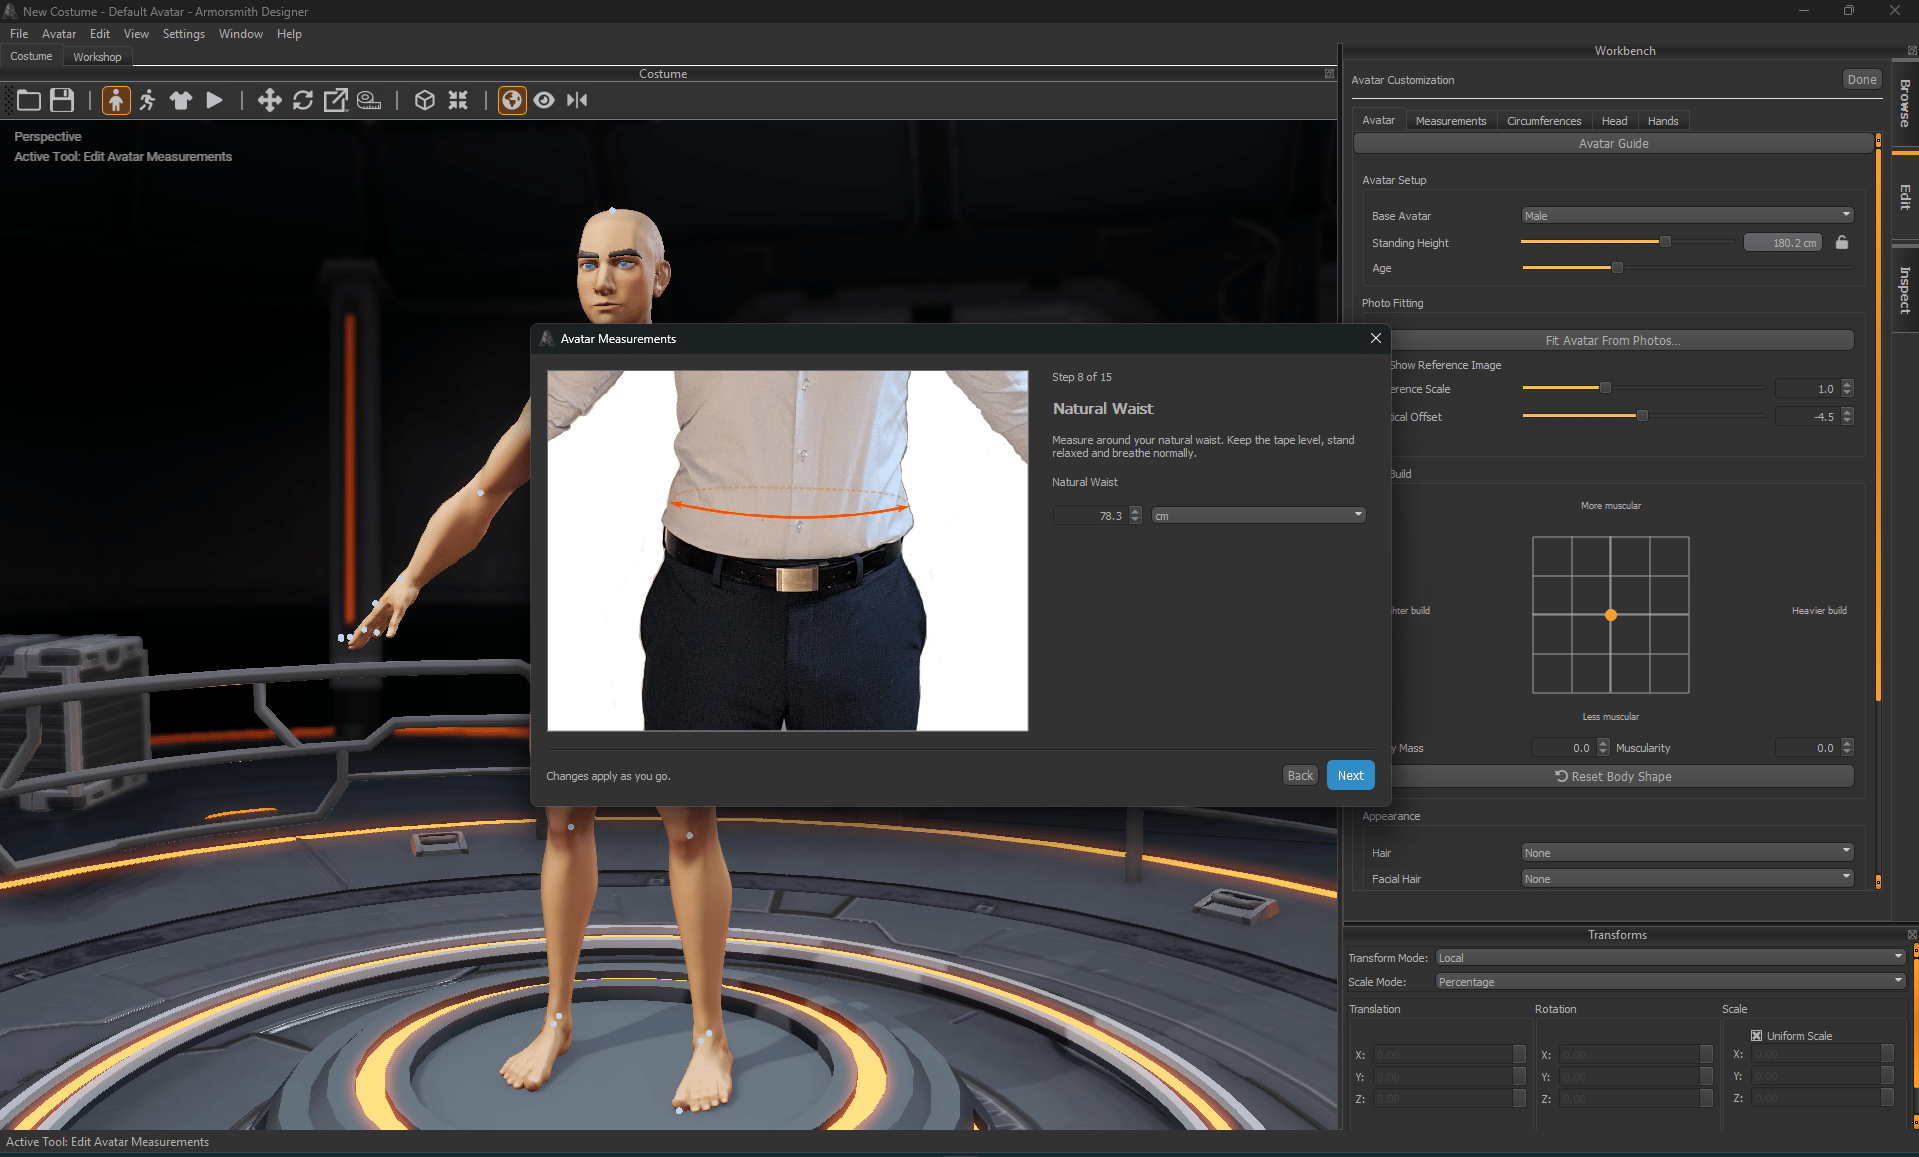
On the Avatar tab, click Avatar Guide for illustrated measurement steps. Check the units and body choice, enter each measurement, and use Back, Next, and Finish to move through the guide. Changes apply as you go; closing the dialog does not mean the earlier entries were only a preview. After the guide, inspect the body from several directions and refine the detailed measurements below. The panel’s separate task/fitting guide provides workflow advice; it is not the same measurement-entry dialog.Create a built-in avatar
- On the Avatar tab, choose Male or Female in Base avatar. Choose the starting body closest to your proportions. Switching bodies transfers the existing measurement profile and supported appearance settings; inspect the resulting shape rather than assuming a reset.
- Set Age and the Body build controls as a starting shape. Body mass and Muscularity are relative shape controls, not weight in kilograms or pounds.
- Enter Standing height with units, such as
175 cm, and press Enter. Set height before refining other dimensions. Entering a height makes later age changes preserve your chosen standing height. - Open Measurements and enter lengths using the highlighted guides as your endpoints. Set compound lengths before their component segments. See Body measurements.
- Open Circumferences and match the levels shown by the rings. Compare front and side views while adjusting size and shape. Use Chest and breast shape for torso and breast controls.
- Use Head for head dimensions and face shape. Use Hands for the available hand and finger measurements. Availability depends on the loaded avatar rig.
- Inspect the body from the front, side, and back. Recheck values after larger shape changes, then choose Avatar → Save As to save an
.avatarfile.
Find the right tab
Older built-in avatars use collapsible Full Body, Measurements, Circumferences, and Details sections. Their layout and detail controls differ from Avatar 4. Imported bodies have their own custom-avatar workflow.